

Pricing & Shooting Options
Option I
“Item in one shot”
The essential format for standard catalogue use.
Included:
- One final image
- Studio photography (controlled lighting)
- Shoot preparation and coordination
- Professional retouching (standard retouching)
- Final files in high resolution (JPEG, High-Res)
- Delivery via cloud storage
A basic solution for standard catalogue tasks.
Suitable for: catalogues, marketplaces, social media.
The cost of photography starts from 12€.
Option II
“Focus stacking”
Photography with maximum depth of field for precise rendering of details and textures.
Included:
- One final image
- A series of shots with varying focus (focus stacking)
- Studio photography (controlled lighting)
- Shoot preparation and coordination
- Professional retouching (standard retouching)
- Final files in high resolution (JPEG, High-Res)
- Delivery via cloud storage
Optimal choice for most tasks.
Suitable for: highly detailed objects.
The cost of photography starts from 18€.
Option III
“Hourly Shooting”
A full-scale shooting process with flexibility to create a variety of visual content.
Included:
- Photographer’s work within the agreed time
- Development of multiple angles and compositions
- Ability to change backgrounds and lighting setups
- Possibility of on-location shooting at the client’s location
- Shoot preparation and coordination
- Professional retouching (standard retouching)
- Final files in high resolution (JPEG, High-Res)
- Delivery via cloud storage
Maximum flexibility and full control over the result.
Suitable for: brands, advertising, website and social media content.
Cost from 90€ per hour.
Short news and announcements

Product photography on special terms

Architectural and Interior Photography

PORTFOLIO AWARD 2026
F A Q
Frequently asked questions
Public offer for the provision of photographer services.
In accordance with Article 9 of the Estonian Law of Obligations Act, this document constitutes a public offer.
The moment of full acceptance of the Photographer’s offer by the Client is deemed to be the fact of prepayment or full payment for the Photographer’s services by the Client.
User Agreement — romandjuzev.com/en/agreement-oferta
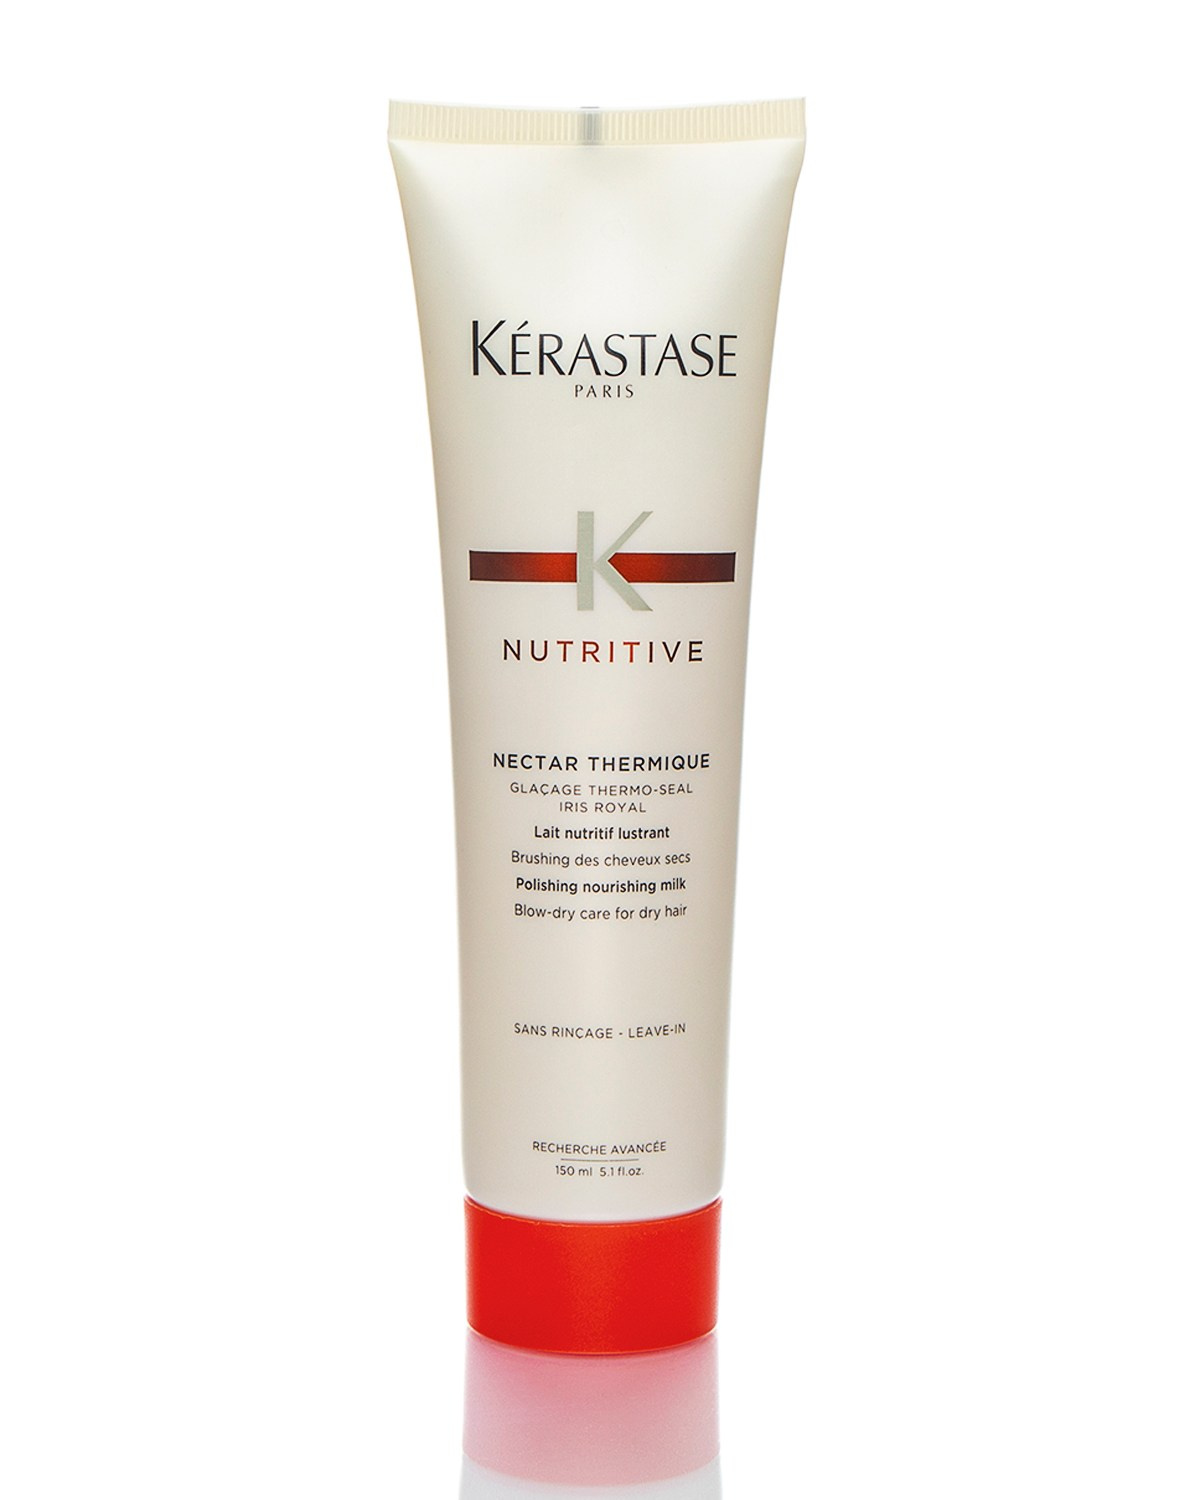
What is the “Item in one shot” option suitable for?
This format is used for standard catalogue photography, where the goal is to present the product in a clean and precise way without complex staging.
It is suitable for:
- e-commerce stores and marketplaces
- product listings
- product catalogues
- website and social media content
The shoot is carried out on a neutral background (white or colored), with the option to add a subtle shadow or reflection to enhance depth and volume. The main focus is on the shape, color, and overall appearance of the product, without extensive detailing of micro-textures.
This format is optimal if:
- you need to photograph a range of products quickly and consistently
- there is no need to emphasize fine details and textures
- a uniform visual style across products is important
If maximum detail is required (for example, for jewelry or finely textured objects), the focus stacking option is recommended.
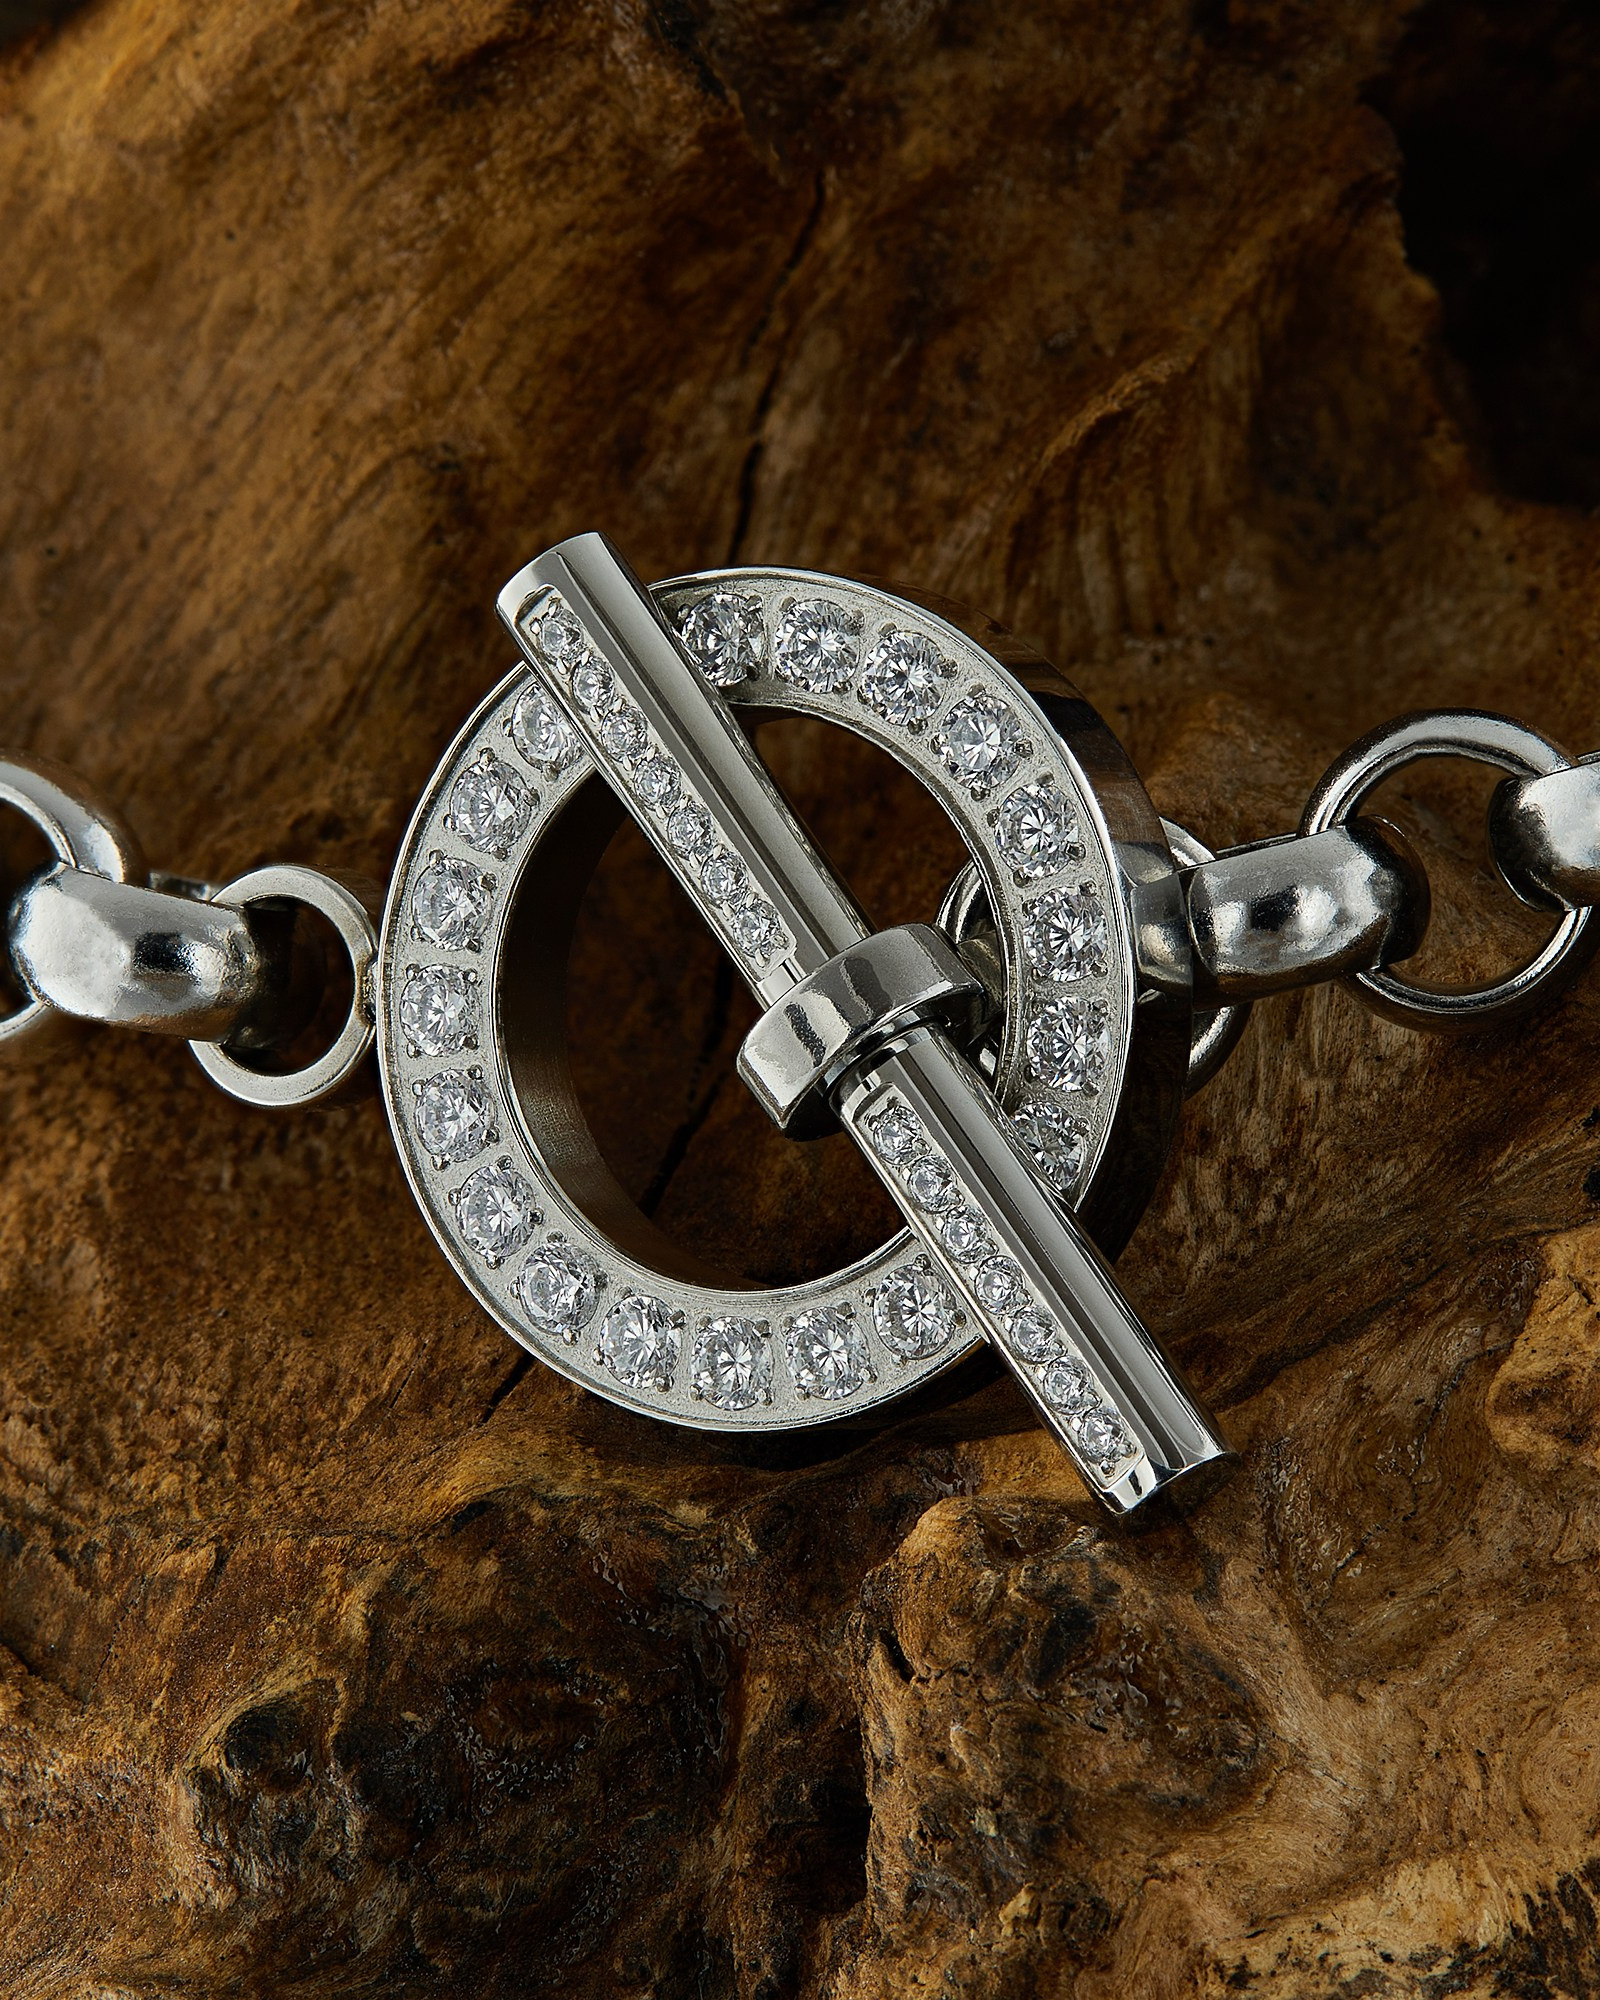
What is the “Focus Stacking” option suitable for?
This format is used when maximum detail and full sharpness across the entire depth of the image are required.
Unlike standard photography, where parts of the object may fall out of focus, focus stacking combines multiple shots into a single image where every element — from the foreground to the finest details — is rendered sharply.
This approach is especially suitable for:
- jewelry
- objects with fine textures and complex geometry
- metallic, reflective, and polished surfaces
- glass and transparent materials
- high-end catalogue photography
The main focus is on accurate rendering of:
- material texture
- micro-details
- shape and geometry
This option is ideal if:
- it is important to showcase the product quality up close
- the product sells through its details and materials
- the images are intended for premium catalogues or advertising
In most cases, this format delivers results that are closest to how the product is perceived in real life.
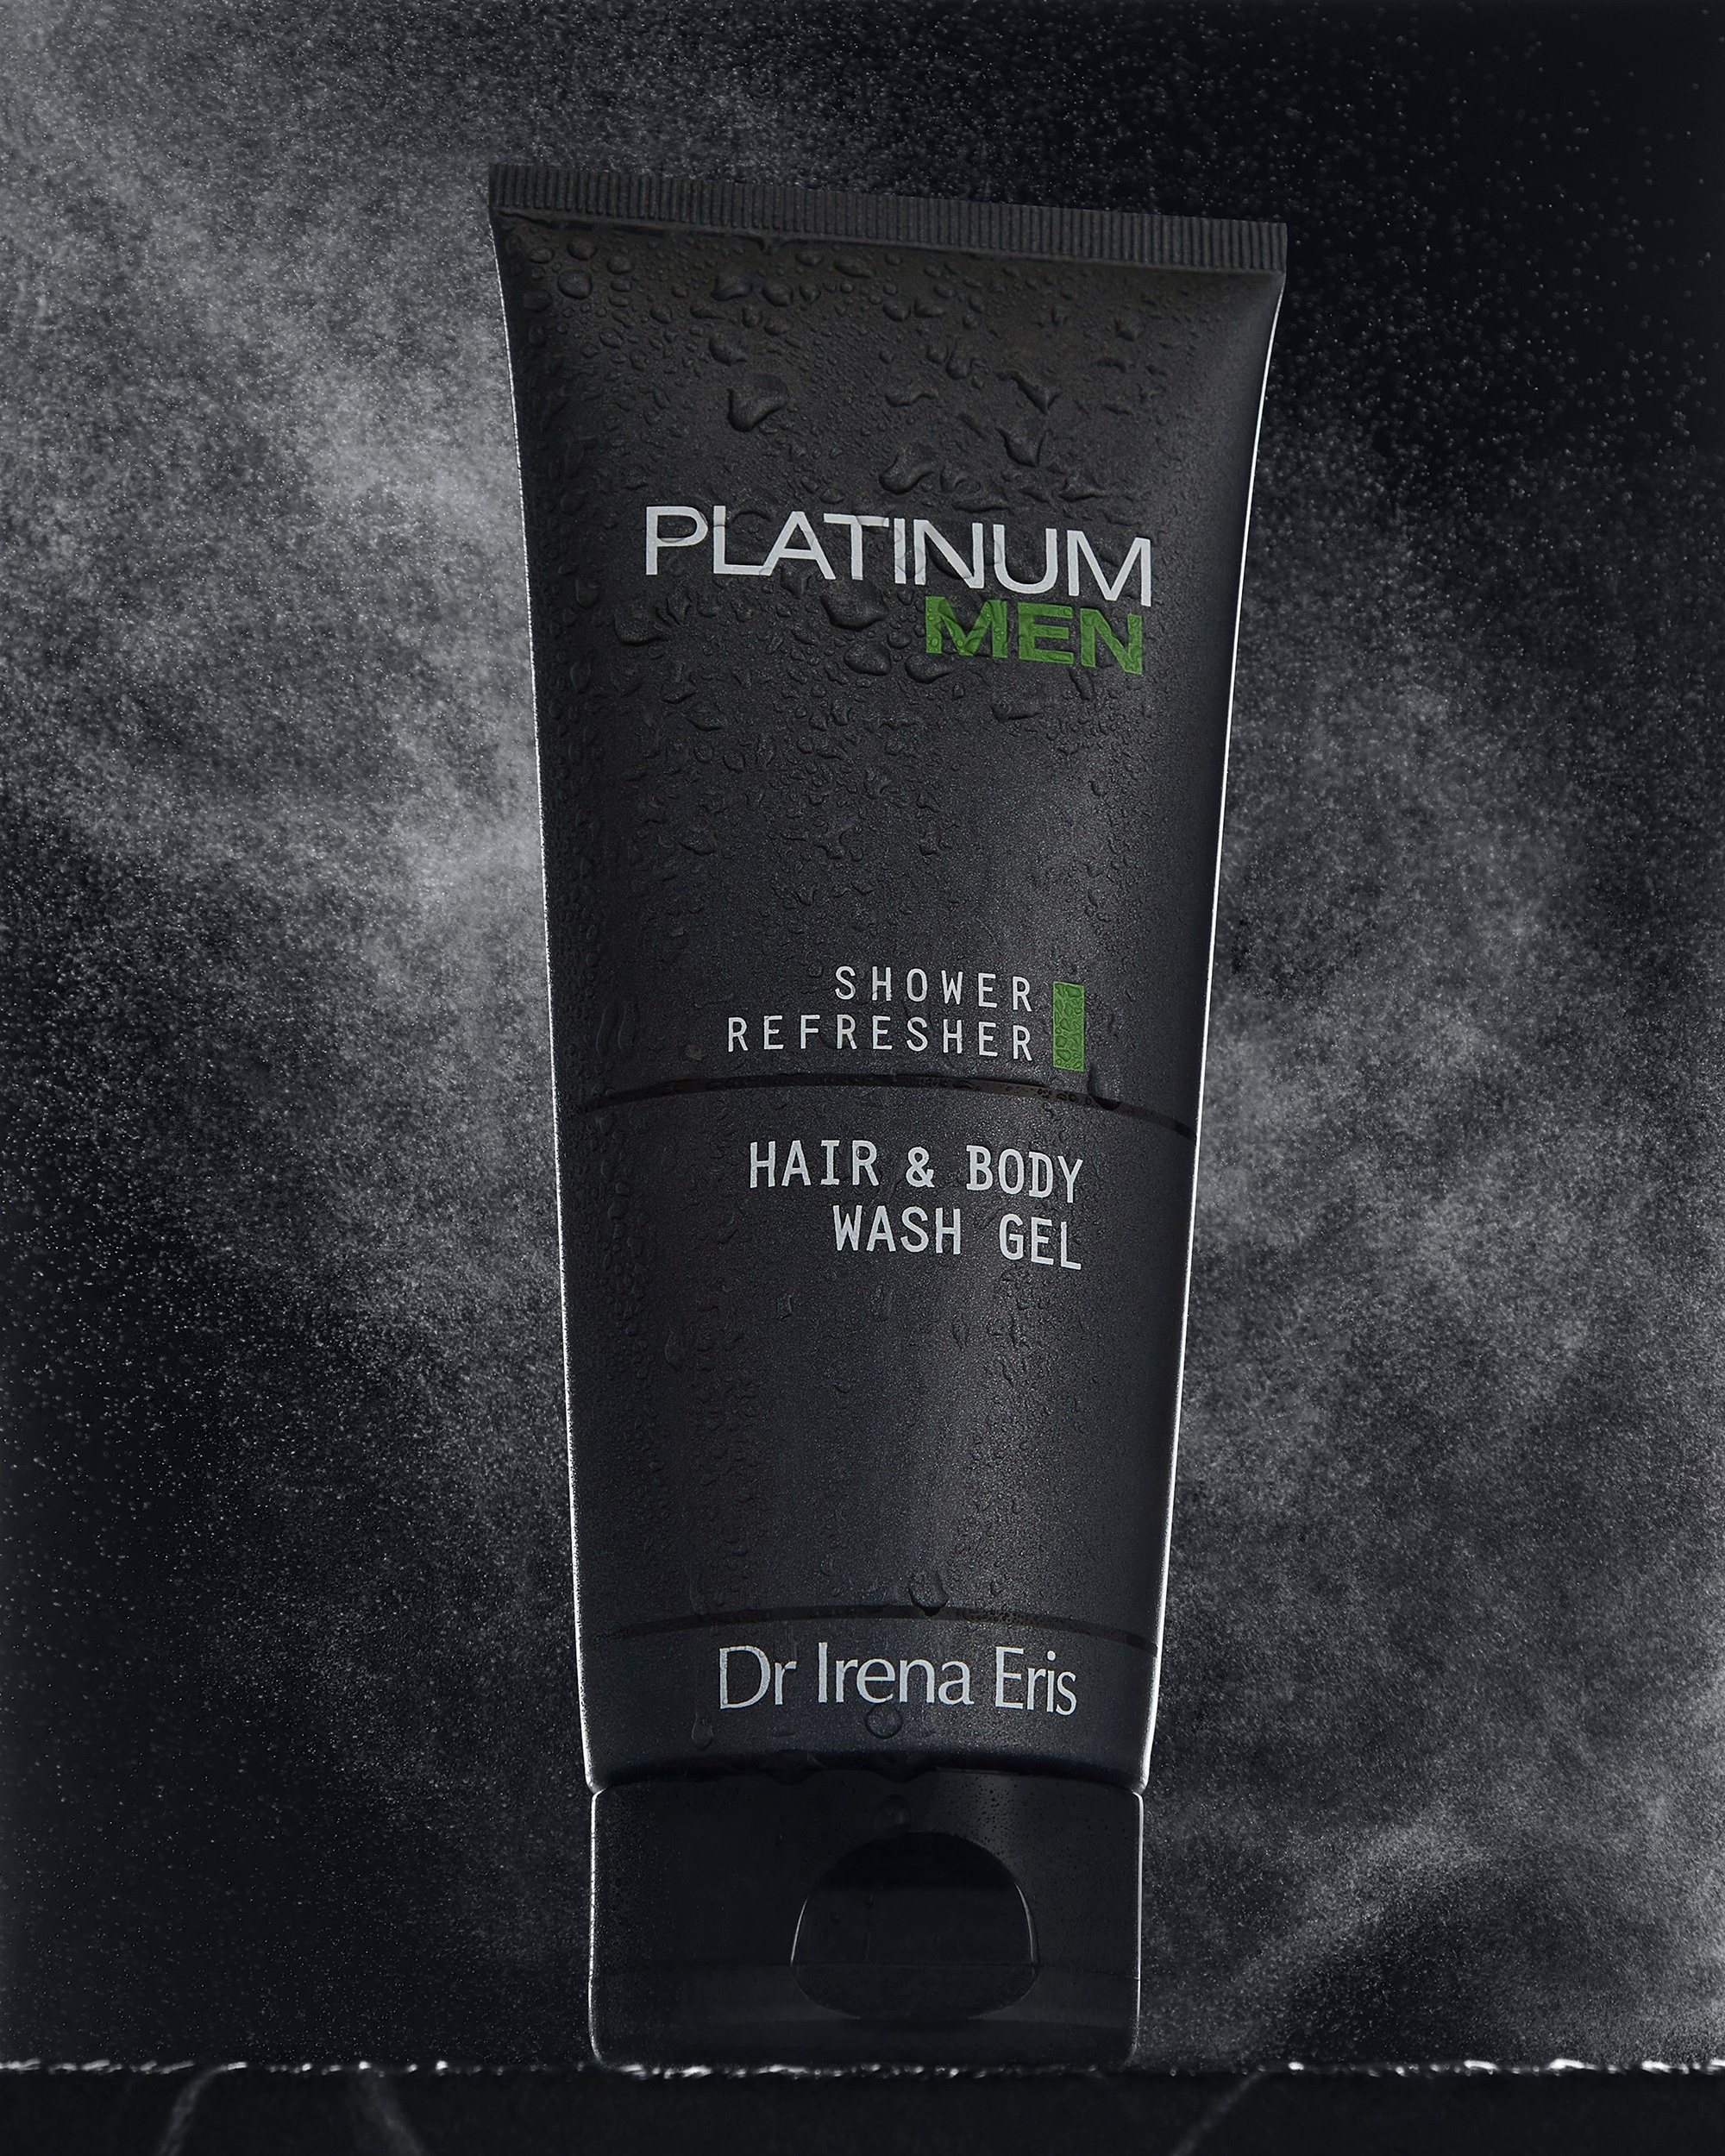
What is the “Hourly Shooting” option suitable for?
This format is ideal for projects where a series of images is required, rather than a single shot, with variation in angles, lighting, and styling.
Unlike standard catalogue photography, this approach provides a full shooting process with the flexibility to experiment, adjust visual solutions, and create more expressive and diverse content.
This format is suitable for:
- advertising and campaign shoots
- website and social media content
- branding and marketing materials
- product series with multiple angles
- restaurant menus
- interiors and architecture
- large objects (including on-location shooting)
During the shoot, it is possible to:
- develop multiple compositions and scenes
- use different backgrounds and lighting setups
- incorporate props
- apply visual effects (smoke, splashes, lighting effects, levitation, etc.)
This option is ideal if:
- you need a series of images rather than a single shot
- you want diverse and flexible visual content
- there is a need to stand out through styling and presentation
- the shoot requires flexibility and creative development
This format provides maximum control over the result and allows the shoot to be tailored to specific business goals.
How to properly define a photography brief?
To ensure the final result fully meets your expectations, it is important to clearly define the task at the start. Even a basic understanding of the shooting goals helps avoid misunderstandings and achieve exactly the result you need.
I have prepared a short structure of six key questions that helps describe the task quickly and clearly: https://romandjuzev.com/brief
It only takes a few minutes, but has a significant impact on the final result.
Even if you don’t have all the answers, I will help уточнить the task and suggest the most suitable solution for your project.
How to prepare products for a photoshoot?
The condition of the product directly affects the final result. Even with professional retouching, proper preparation ensures the cleanest and most accurate visual outcome.
Before the shoot, it is recommended to:
- clean the product from dust, fingerprints, and загрязнений (fix below)
Let me correct that line:
- clean the product from dust, fingerprints, and dirt
- check surfaces for scratches, chips, and defects
- align labels, stickers, and packaging
- ensure the product looks intact and presentable
Special attention should be paid to glossy, metallic, and glass surfaces, as they are particularly sensitive to any imperfections.
Preparation can be done either by the client or in the studio before the shoot.
Minor imperfections can be corrected during retouching; however, more significant damage or heavy загрязнения (fix below)
Corrected:
- however, more significant damage or heavy contamination may require additional work and can affect both timing and cost.
How are products delivered to the studio?
Delivery and return of items for the shoot are arranged by the client using a convenient method — either via courier service or personal delivery.
It is recommended to agree on the date and time of delivery in advance to ensure the shoot can be scheduled without delays.
After the shoot is completed, the items are packed and ready for return using the same method that was chosen for delivery.
Items can be stored in the studio for up to 10 days after the shoot. The storage period can be extended upon prior agreement if needed.
If you are unable to arrange delivery yourself, alternative options can be discussed — I will help find a convenient solution.
How are the final images delivered?
The completed photographs are delivered via cloud storage in a convenient format.
After post-production is finished, you will receive access to a personal gallery where you can:
- view all final images
- download files in high resolution
- share access with colleagues if needed
- leave a review and comment
All materials are stored in the cloud for 90 days. The storage period can be extended upon request.
Final files are delivered in high resolution (JPEG, High-Res) and are fully ready for use on websites, marketplaces, and in advertising materials.
How is the photoshoot payment structured?
Payment is divided into two stages and agreed upon before the shoot.
A 50% advance payment of the total project cost is required prior to the shoot. Any additional expenses related to the project — such as props or transportation — are also paid in advance if applicable.
The remaining balance is paid after the shoot and post-production are completed, prior to the delivery of the final materials.
This approach ensures that all terms are clearly defined in advance and provides transparency throughout the entire process. All payment details are agreed upon beforehand within the scope of the project.
What equipment is used for the photoshoot?
In my work, I use professional photography gear and studio equipment that ensure consistent and high-quality results.
The main camera is the Canon EOS 5D Mark IV. Depending on the task, different lenses are used to achieve high detail and accurate perspective rendering:
- Canon EF 100 mm f/2.8 — for product and macro photography
- Canon EF 50 mm f/1.2 — for images with a focus on depth and visual aesthetics
- Canon EF 24–105 mm f/4L — for versatile shooting tasks
- Canon EF 16–35 mm f/4L — for interiors and architecture
Studio lighting is based on Godox flashes and equipment, allowing precise control over light, shadows, and reflections — a key factor in product photography.
Studio Shooting.
All shoots take place in a private studio fully equipped for product and commercial photography. This allows working with a wide range of materials and surfaces — from matte to glossy and reflective — with high precision and predictable results.
Equipment is selected according to the specific task to ensure optimal image quality for each project.
Special attention is given to photographing highly detailed products and objects with complex reflective surfaces.
On-Location Shooting.
On-location shooting is carried out at the client’s premises or in a pre-agreed location.
This format is ideal for projects where studio shooting is not possible or not practical — for example, interiors, architecture, restaurant menus, or large-scale objects.
The necessary lighting and a basic shooting setup can be arranged on-site, taking into account the specific conditions of the location.
Minimum booking time is 2 hours. Timing starts from the moment of arrival at the location. Travel expenses are calculated separately.
Props for the photoshoot.
Props are not included in the base shooting cost and are selected individually depending on the project requirements.
They can be provided by the client or sourced additionally before the shoot, taking into account the concept and visual style.
If needed, I can assist with sourcing props, suggest suitable solutions, or handle the process entirely. In this case, the cost of props and related expenses is agreed upon separately before the shoot.
It is important to note that props directly influence the perception of the image and help create a more expressive and distinctive visual.
All prop-related expenses are approved in advance and paid before the shoot.
Shooting a single product from multiple angles.
If the same product is photographed from different angles (for example, a front view and a ¾ angle), each angle is considered a separate image and is charged individually.
This is due to the fact that for each angle, lighting, composition, and product positioning must be set up again. Even when shooting a single product, each frame requires individual setup and post-processing.
If needed, the number of angles can be agreed in advance, and the most suitable shooting format can be selected based on the project requirements.
What is technical retouching?
Technical retouching is a basic image processing stage aimed at making the photograph clean, accurate, and visually correct, without altering the appearance of the object or adding creative effects. Its purpose is to bring the image to a technically correct, ready-to-use state.
Technical retouching includes:
- adjustment of exposure and white balance
- balancing contrast and overall color rendition
- removal of dust, spots, and minor imperfections
- enhancement of detail sharpness and noise reduction
- preparation of the image in the required size and format
It is important to note that technical retouching does not alter the shape, structure, or visual characteristics of the product — its real appearance is preserved.
What is focus stacking?
Focus stacking is a shooting and post-processing technique in which a series of images is captured with different focus points and then combined into a single image with full sharpness across the entire depth of the subject.
In standard photography, parts of the object may fall out of focus, especially when working with macro or small subjects. Focus stacking eliminates this limitation, resulting in an image where all elements — from the foreground to the finest details — are rendered sharply.
This method is particularly effective for photographing:
- jewelry
- objects with fine textures
- complex-shaped items
- metallic, glossy, and reflective surfaces
The main result is a highly detailed image without loss of sharpness in any area.
Focus stacking is considered the optimal solution for photographing products where precise detail and material quality are essential.
What is exposure bracketing?
Exposure bracketing is a shooting technique in which a series of images of the same scene is captured at different brightness levels (exposures) and then combined into a single image.
This allows details to be preserved in both the highlights and the shadows, which in standard photography may appear overexposed or too dark.
In conventional shooting, a camera cannot always accurately capture the full dynamic range of a scene. Exposure bracketing solves this by merging multiple exposures into one balanced result.
This method is particularly useful for photographing:
- interiors
- architecture
- high-contrast scenes (windows, light sources, shadows)
The main result is a well-balanced image with preserved details across all areas of the frame and a natural representation of light.
Exposure bracketing is widely used in professional interior photography, where it is important to capture space, light, and detail simultaneously.